Google Fonts with Bootstrap
This page looks different from other pages in this Bootstrap-based project because I have added Google fonts to the page, replacing the font defaults built into Bootstrap.
- To change the font for everything, you'll need to specify the font change for the BODY element.
- To change the font for individual element types, such as H1 and H2, specify the font change for those specific elements.
This page uses the font Cormorant Garamond for everything (BODY) and the font Cherry Cream Soda for H1 and H2 headings.
Option 1: Styles in the document HEAD
You're not going to have much custom CSS when Bootstrap is doing all the work, so it's acceptable to write your CSS for the fonts directly into the HEAD, between <style> and </style>. This is illustrated below with the code for this page.
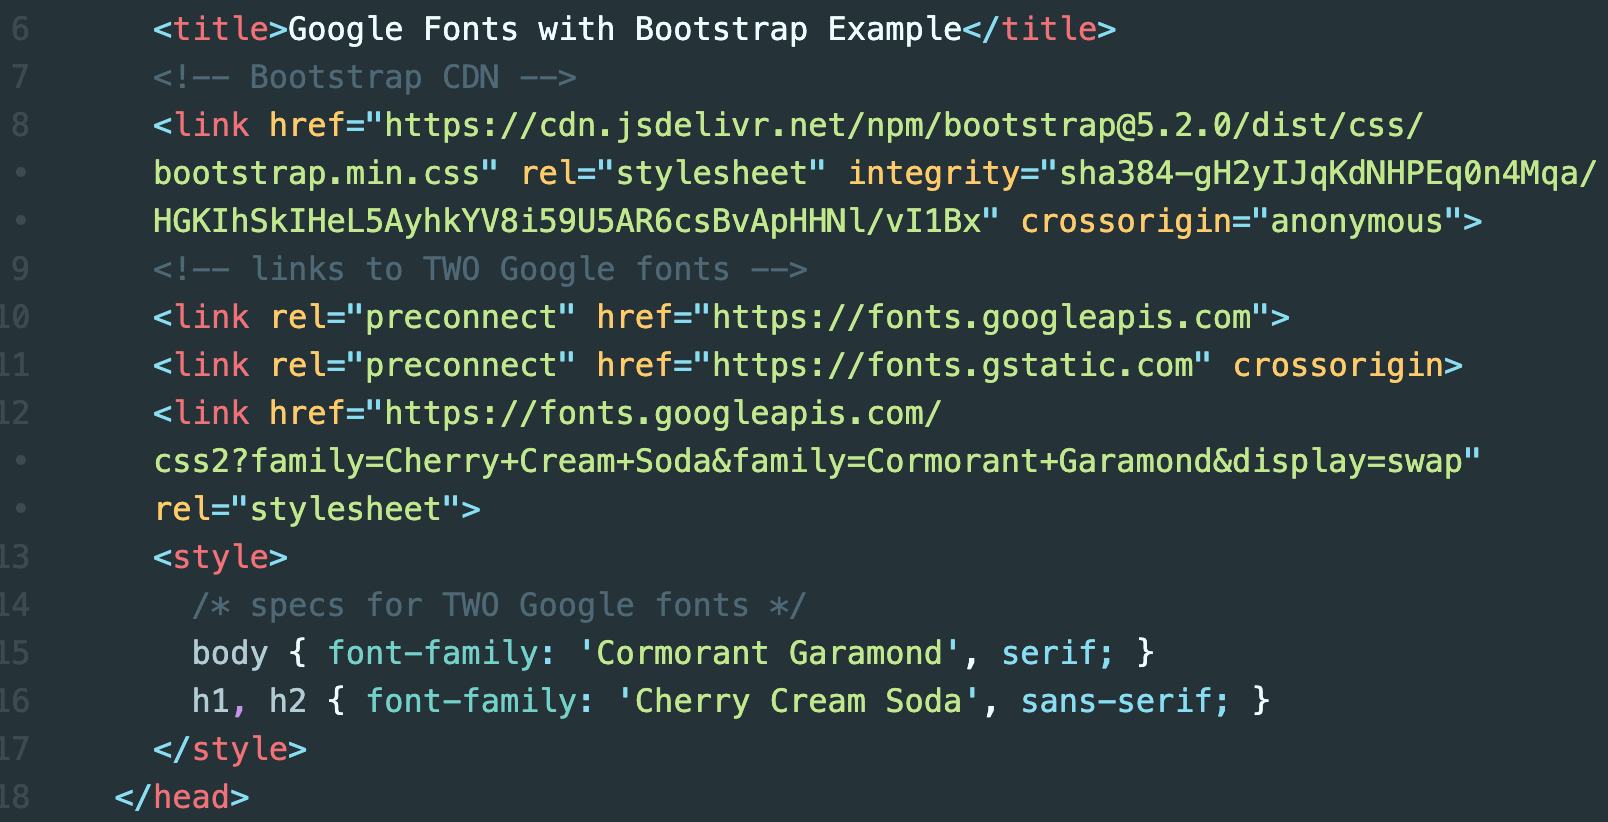
It is necessary for this code to come after the LINK element that references the main Bootstrap CSS file. This is true whether you're using the Bootstrap CDN or a downloaded file. First the page loads the Bootstrap CSS, and then afterward it loads your custom CSS styles.
Option 2: Styles in a separate CSS file
If you're making a multi-page project, it's best to create a separate stylesheet for your custom styles — because if you decide to change something, you change it just in that one file, and it will affect all the pages. This is illustrated below, where the CSS file is named main.css, and it is inside a folder named css.
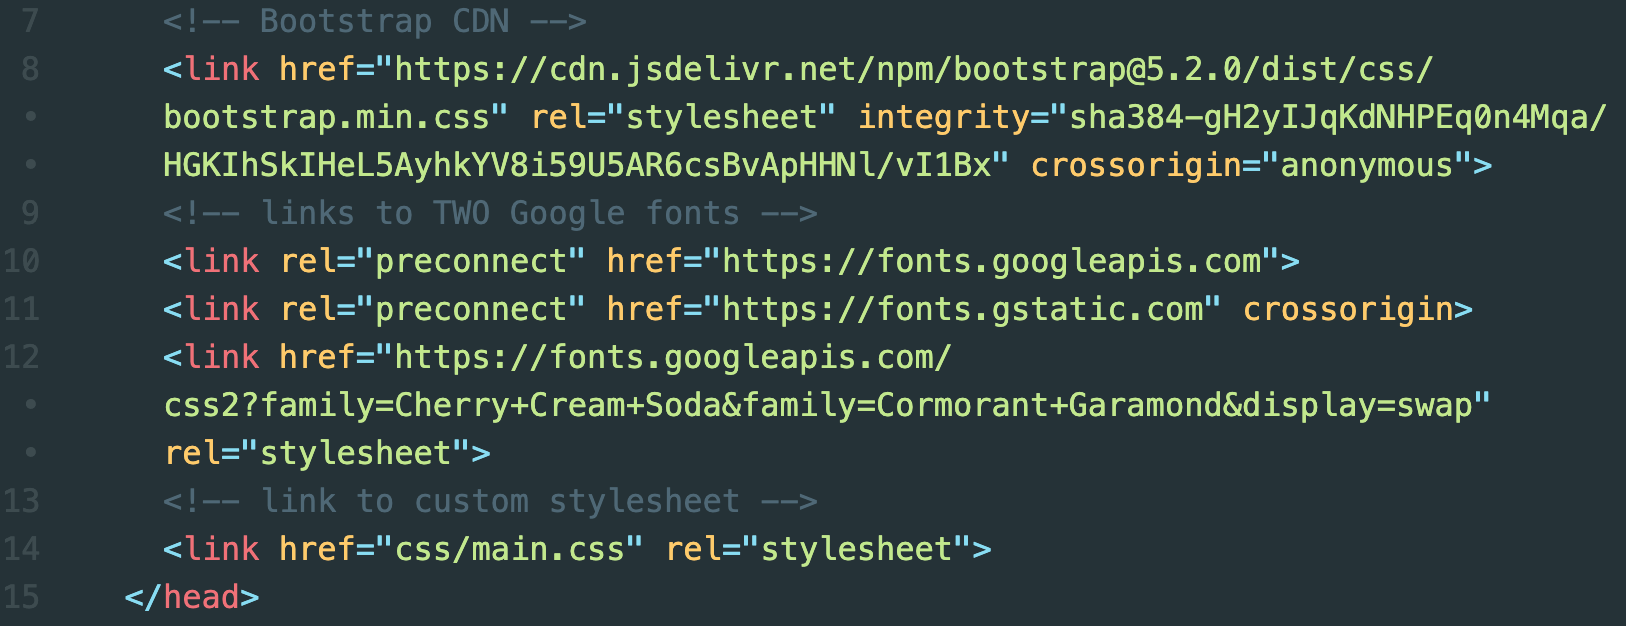
It's necessary for your custom CSS file's LINK element to come after the LINK element that references the main Bootstrap CSS file. This is true whether you're using the Bootstrap CDN or a downloaded file. You'll have two LINK elements in the HEAD. The first LINK element must reference the main Bootstrap file.
Note that the three Google font LINK elements must precede your custom CSS file's LINK element.